



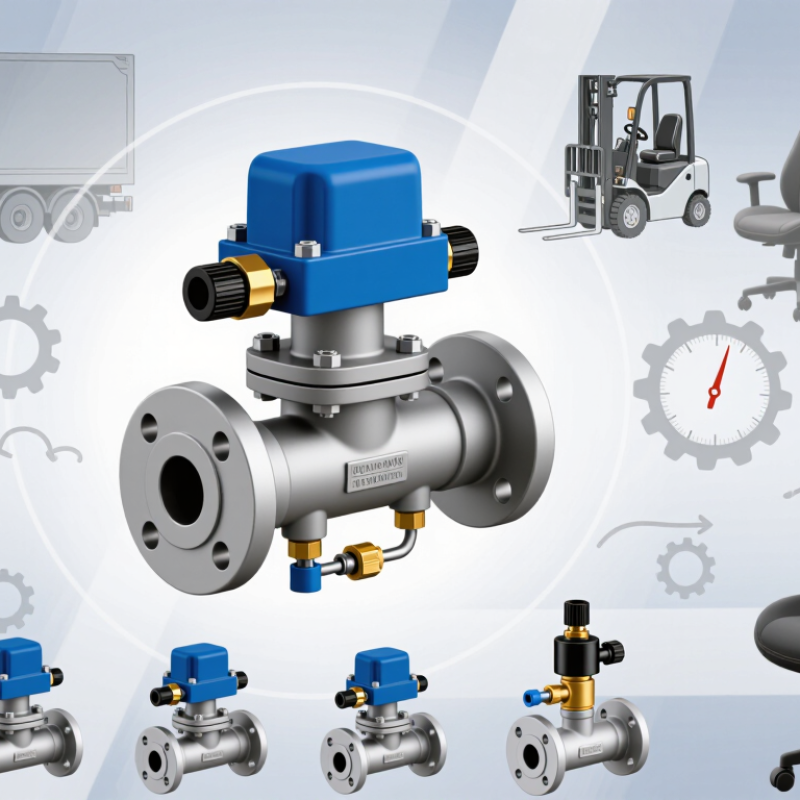
Choosing the Right Air Seat Control Valve: 7 Practical Checks
Start with air pressure, not the catalog maximum. Measure pressure at the valve inlet while the seat moves, because static readings can hide a serious drop. The U.S. Department of Energy estimates that leaks may waste 20–30% of compressor output. A small leak can therefore make a comfortable seat feel unreliable. Select a valve with a working range covering your lowest measured pressure, not only the system’s peak. Leave safety margin. More is not always better.
Flow rate controls adjustment speed and stability. Check the valve’s flow data at your actual pressure and temperature. ISO 6358 evaluates pneumatic flow through sonic conductance and critical pressure ratio, giving engineers a clearer comparison than port size alone. A larger port may respond too sharply. A smaller one may move painfully slowly. Test inflation and exhaust separately. I once trusted a nominal flow figure and missed the exhaust restriction. That mistake was avoidable.
Connection standards deserve equal attention. Confirm thread type, pitch, sealing method, tube diameter, and mounting space. ISO 228-1 and ISO 7-1 define different thread practices; they should not be treated as interchangeable. Check whether the seat frame uses metric or imperial hardware. Inspect the first fitting by hand. Forced engagement can damage threads before the system ever operates. Record pressure, flow, fitting dimensions, and temperature during testing. That record makes later troubleshooting faster and less dependent on guesswork.